Tips for Milling Flour at Home
You might be wondering… why on earth would anyone go through the trouble of milling their own flour when you can just grab a perfectly fluffy bag off the grocery store shelf?
Fair question. A very fair question.
There are people out there who can explain the science behind it way better than I can, but if you’re looking for a quick, friendly explanation - I’ve got you. And… I’ll happily point you in the right direction if you want to go full deep-dive mode.
Let’s start with the star of the show: wheat berries. These little guys are whole, unprocessed wheat kernels. Nothing added, nothing taken away. They contain three parts: the bran, the germ, and the endosperm. In other words, they’re the grain in its most complete, natural form—before it ever becomes flour.
All flour—yes, even that bag of all-purpose flour in your pantry—starts as a wheat berry. The difference is what happens next.
For white flour, the bran and germ are removed, leaving just the soft, starchy endosperm.
For whole wheat flour, all three parts are ground together.
Here’s the part that surprised me: the bran and germ are where all the good stuff lives. We’re talking fiber, vitamins (like B and E), minerals, and antioxidants. Basically, the nutritional VIP section.
That fiber also helps slow down glucose absorption (goodbye, sugar spikes), and—bonus—the flavor is so much better. Freshly milled flour gives baked goods a richer, nuttier taste that store-bought flour just can’t compete with. Plus, when you mill your own, you know exactly what’s in your food. No mystery ingredients, no surprises.
And while it might sound like a whole production, milling your own flour is actually pretty simple. It can even save you trips to the store, since whole grains can last years when stored properly—unlike store-bought flour, which has a relatively short shelf life.
So, how do you actually do it?
Step 1: Get Yourself Some Good Grains (e.g. Wheat Berries)
If you can buy in bulk from a trusted source… do it. I purchase mine from Azure Standard or Ancient Grains. Look for high-quality wheat berries—hard red for bread, soft white for cakes and muffins. You can also branch out into heritage grains like spelt, einkorn, or kamut. Gluten-free? Millet and rice are great options as well. Storage matters here. I like using airtight bins with mylar bags and gamma lids—keeps everything fresh and easy to access. Here are the storage bins I use: 5 Gallon Bucket with Gamma Seal and 5 Gallon Mylar Bags.
Step 2: Pick a Mill
I use a Mockmill 100 and love it. It sits right on the counter and grinds grains between two stones.
The one thing to watch out for? Moisture. If your grains are too soft, they can clog the mill (ask me how I know…).
Quick test: press a grain with the back of a spoon.
If it makes a nice crunch or pop—good to go.
If it squishes—nope, too soft.
If things do get clogged, running some brown rice through the mill can help clean it out. Worst case, you’ll need to take it apart—which is a story for another day.
Step 3: Mill Away
Pour in your grains, adjust the coarseness, and let the mill do its thing. That’s it. Fresh flour in minutes.
Step 4: Store Your Flour (or don’t!)
Freshly milled flour is best used right away for maximum flavor and nutrition. But if you need to store it, keep it in an airtight container for a few days—or pop it in the freezer for longer storage.
A quick heads-up before you start baking
Freshly milled flour is not a perfect 1:1 swap for store-bought flour. Because it still contains the bran and germ, it absorbs more liquid and can affect texture and gluten development.
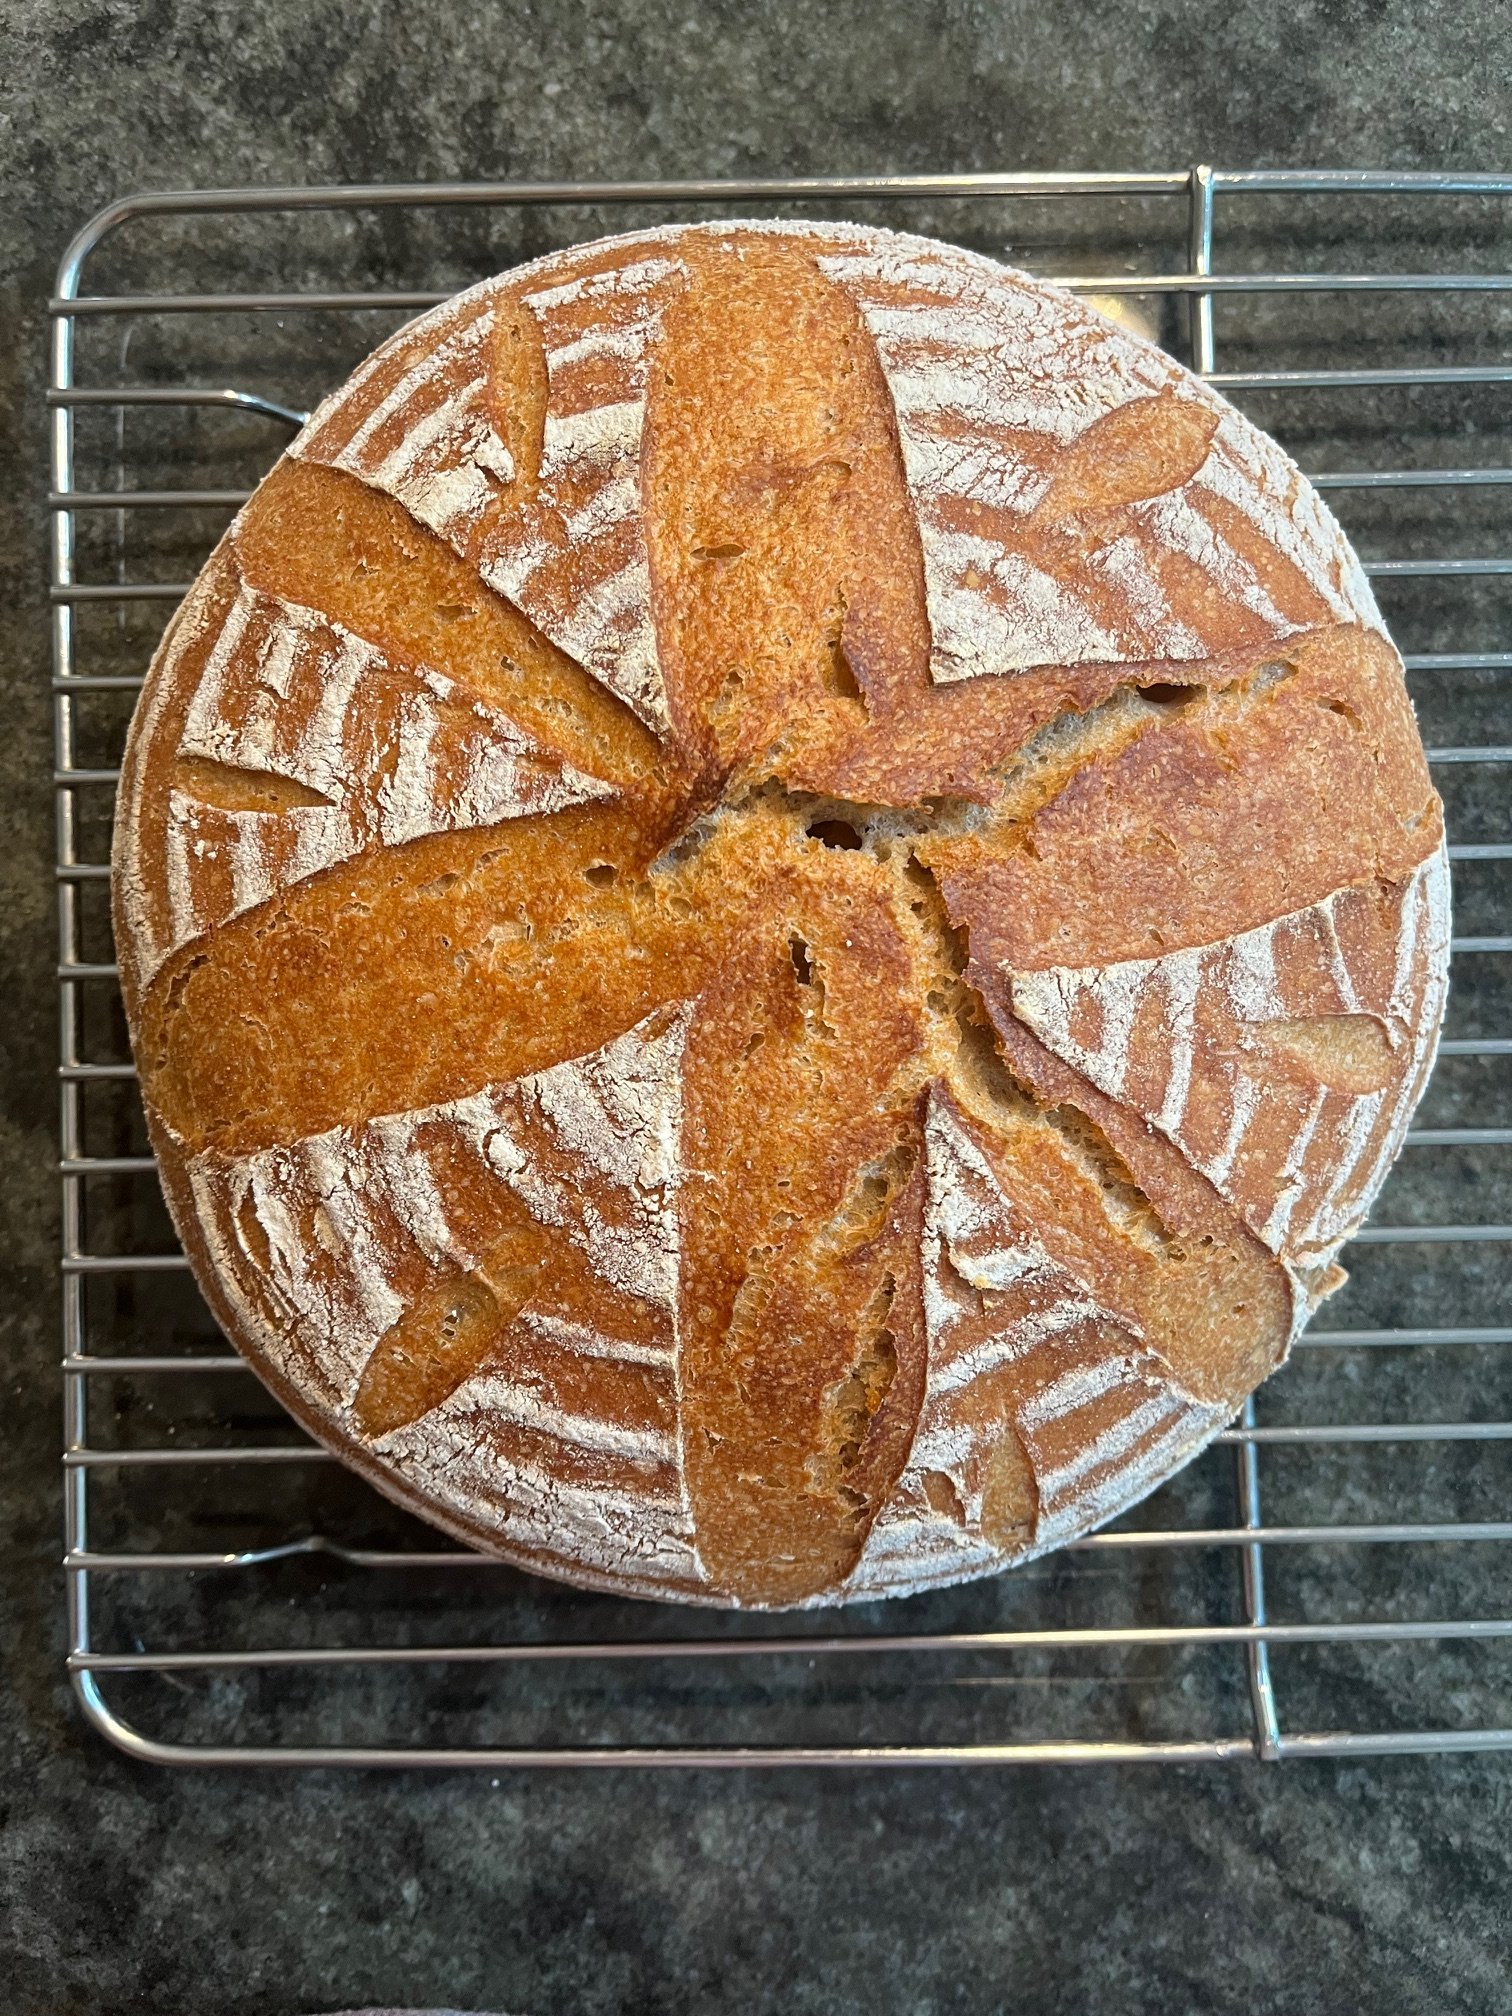
Translation: you might need to add a bit more liquid and do some experimenting—especially if you’re into sourdough. The rise and structure can be a little different at first.
But stick with it. There’s a small learning curve, sure—but the payoff in flavor, nutrition, and satisfaction is absolutely worth it.
If this whole thing has sparked your curiosity, there are some great podcasts and cookbooks out there to help you dive deeper. I’ve been loving The Fresh Milled Flour Cookbookby Kara Britch—it’s been a great guide as I learn the ropes. Listen to the Bread Becker’s Podcast with Sue Becker or Ancestral Kitchen’s Podcast - Episodes #7, #19 and #42.
And that’s it! You’re officially on your way.
Happy milling!
Note: Some links may be affiliate links. I only recommend products we actually use and love.