Extracting Happiness, One Vanilla Bean at a Time
For the last three years, my family has been on a little adventure—one that’s taken us back in time… at least in the kitchen. We’ve been leaning into what’s often called ancestral eating, which is really just a simple, back-to-basics way of thinking about food. Think: cooking the way people did before everything came in a box, bag, or mysteriously shelf-stable pouch.
Slowly but surely, our pantry has transformed. Where there were once packaged snacks, there are now jars of ingredients. We cook more meals at home instead of ordering takeout, and we try to source as much as we can locally, seasonally, or straight from our own backyard. (Yes, that includes chickens—but that’s a story for another day!)
Now, before you picture us solemnly chewing kale in a candlelit room, let me reassure you: we absolutely still enjoy treats. My kids would revolt otherwise. Pumpkin chocolate chip muffins? Yes. Lemon cookies? Of course. Homemade granola? Always.
The difference is, we try to make these goodies with more nutrient-dense, thoughtfully sourced ingredients—things like freshly milled whole wheat kamut flour and, more recently, homemade vanilla extract.
And let me tell you… discovering how to make vanilla extract felt like uncovering a kitchen secret hiding in plain sight.
Wait… It’s Only TWO Ingredients?
I always assumed vanilla extract was one of those things best left to the experts. Turns out, it’s the opposite.
Vanilla extract is made from just:
Alcohol
Vanilla beans
That’s it. No fancy equipment. No obscure ingredients.
Once I realized how simple it was—and how much vanilla we go through in this house—I knew I had to give it a try. High-quality vanilla extract can be pricey, especially if you’re buying organic. Making it at home? Surprisingly affordable and incredibly satisfying.
Bonus: it also makes a really cute gift.
A Quick Note on Alcohol (Because Yes, It Matters)
If you want to make a proper, shelf-stable vanilla extract, there’s one important guideline to keep in mind: your alcohol needs to be at least 70 proof (35% alcohol by volume) per FDA Guidelines. For most home recipes, 80 proof (40% alcohol) is considered the sweet spot.
Why?
Flavor balance: Around 80 proof (40% alcohol) tends to give the smoothest, most well-rounded vanilla flavor.
Preservation: Alcohol extracts the flavor from the beans and keeps everything from spoiling.
Standards: This is the minimum required if you want it to meet the definition of “pure vanilla extract.”
Choosing Your Alcohol
Here’s where you can have a little fun:
Vodka (80 proof): The classic choice. Neutral flavor that lets the vanilla shine. (This is my preference.)
White rum: Slightly sweeter, still smooth and clean.
Bourbon or brandy: Adds deeper, richer notes—but use thoughtfully so it doesn’t overpower the vanilla.
What You’ll Need
Whole vanilla beans (Grade A is ideal)
I am using these Grade A Organic Madagascar Vanilla Beans (Note: This package comes with 50 beans)
Alcohol (at least 80 proof)
I make two batches and use approximately 32 oz of alcohol / batch
A glass jar or bottle with a tight seal
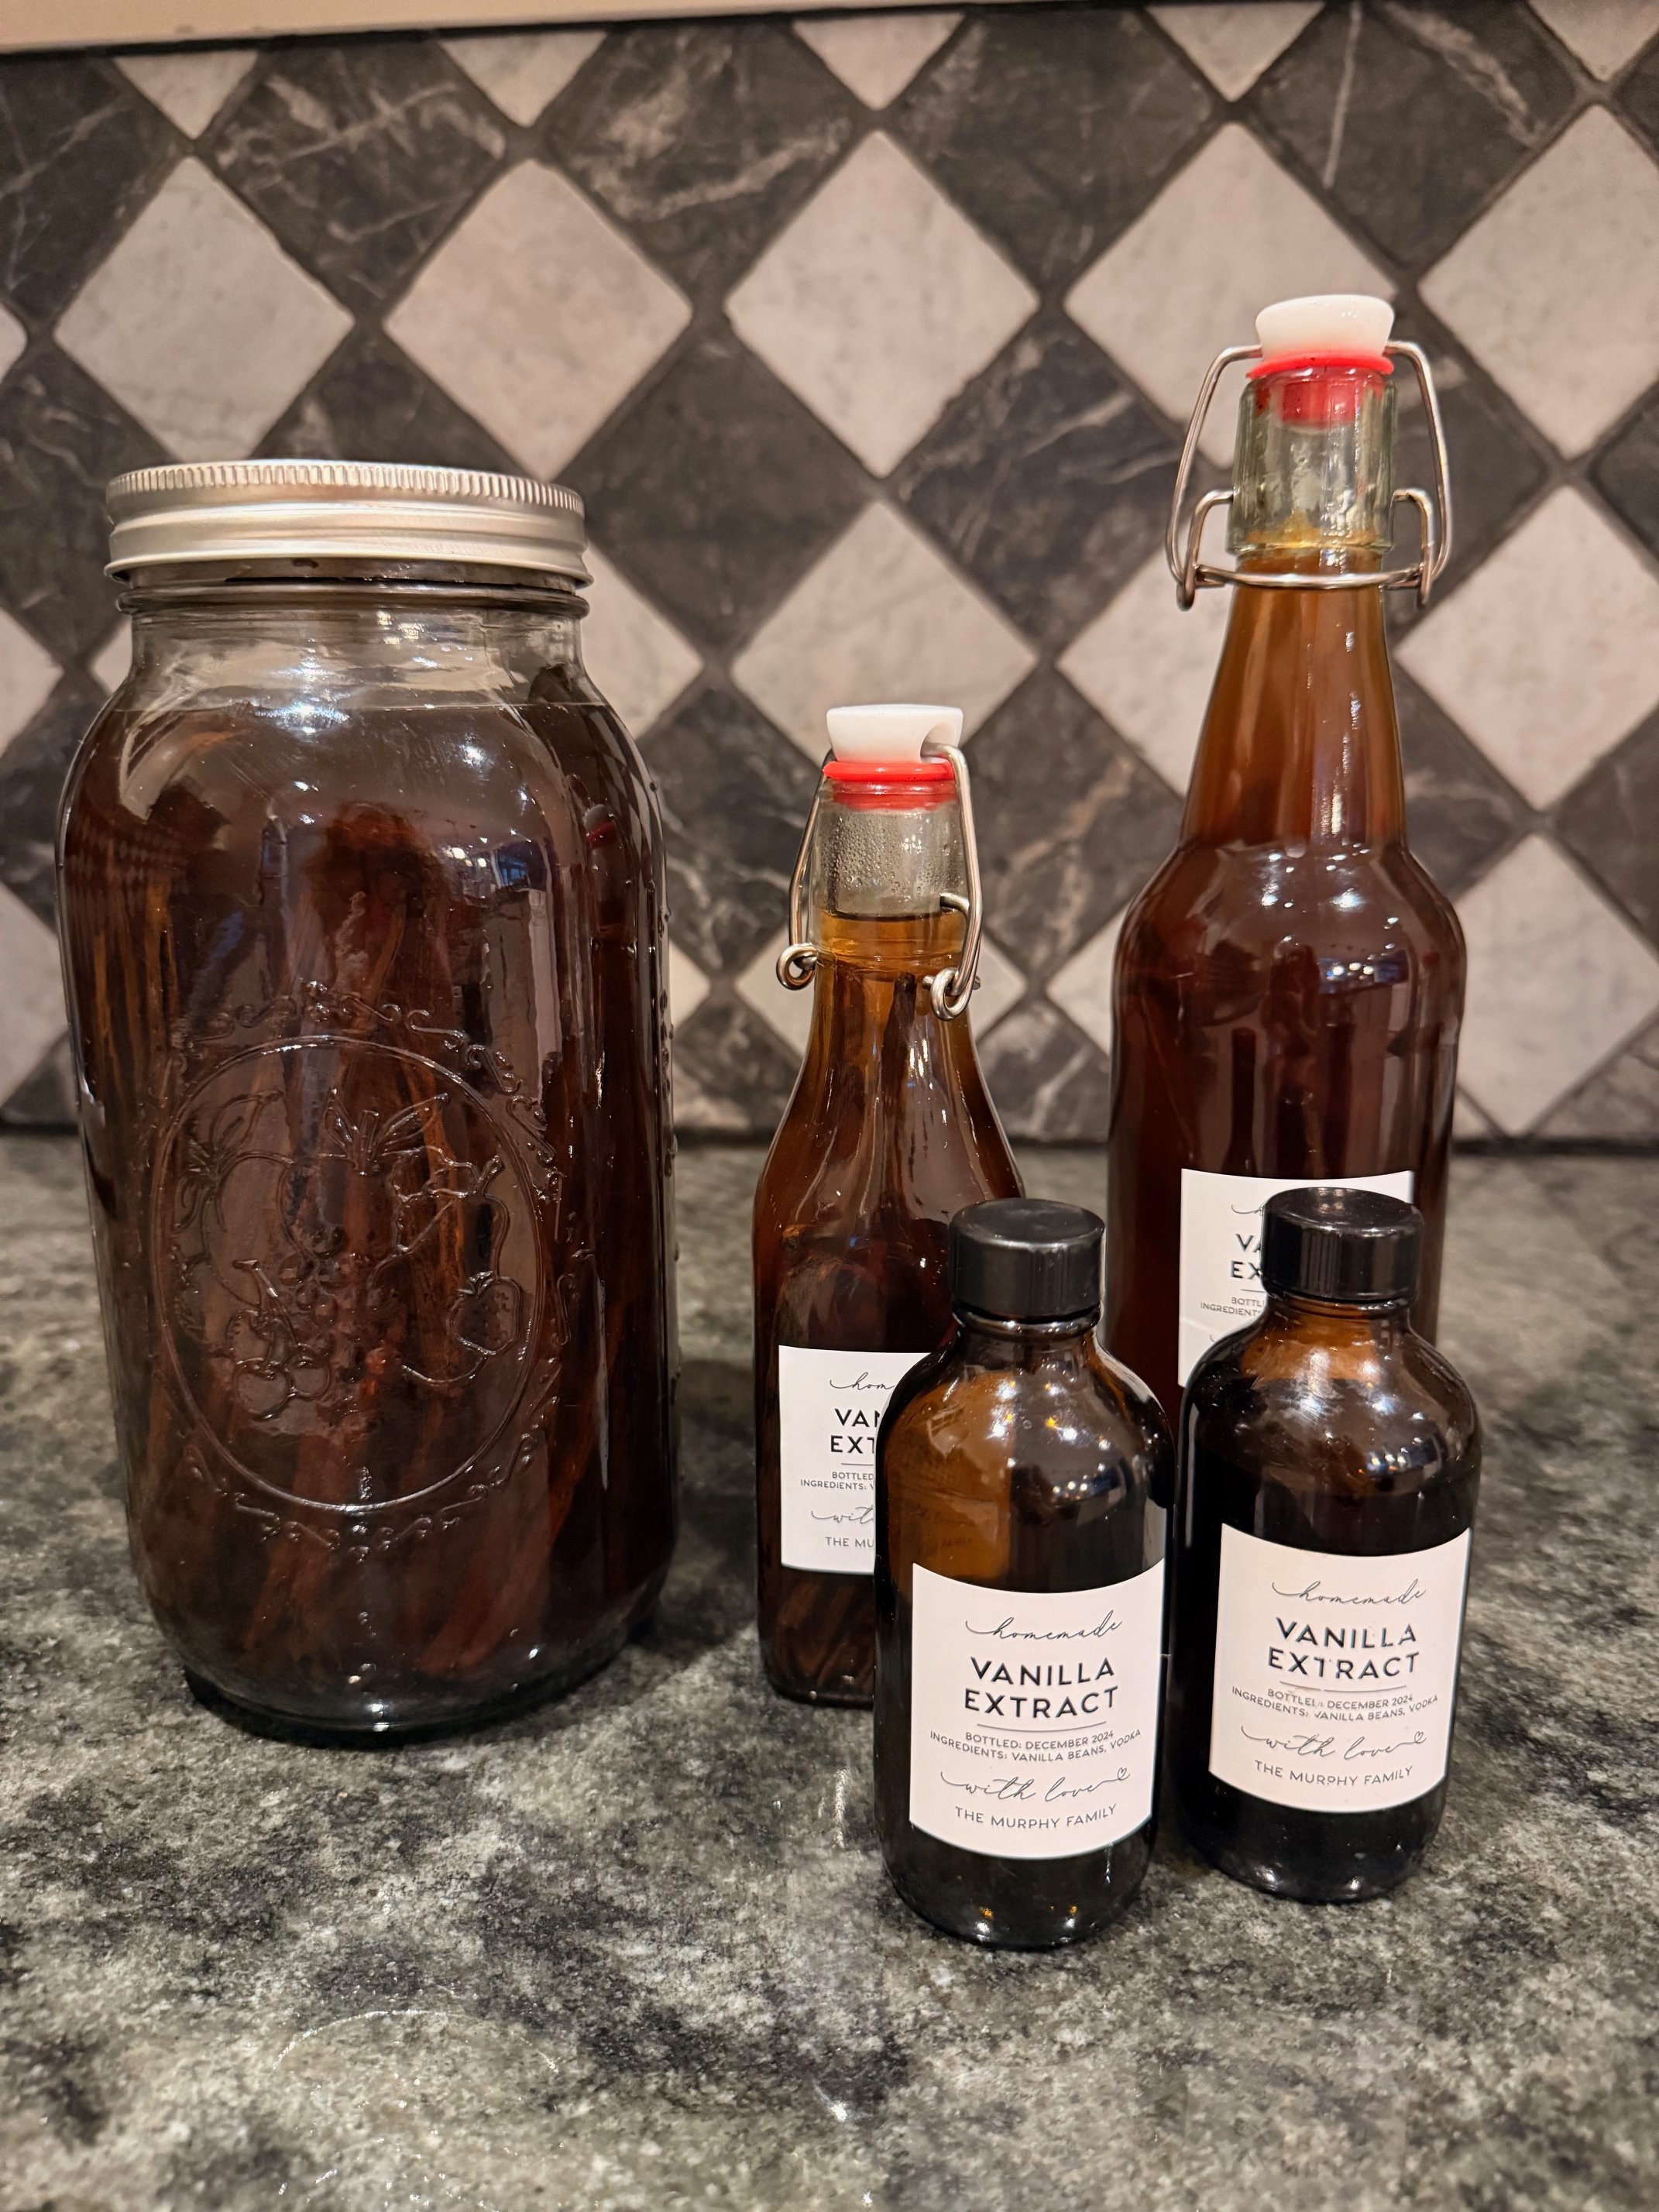
I use these 64oz Ball Jars and I make two batches with 24 beans in each batch and 32 oz of alcohol or enough alchol to cover the beans.
Optional: Smaller jars for gifting
For gifting purposes, I use these Amber 4oz glass jars. I also keep these jars in my kitchen while the bigger batch continues to extract.
Check-out Etsy for cute labels like these for your gift!
Kitchen scissors
The Simple Process
Step #1: Using kitchen scissors, split your vanilla beans lengthwise about ¾ of the way down the bean to expose all those fragrant seeds. Keep about ¼ of the bean fully intact
Step #2: Place vanilla beans in your jar. (Just shove them all in there!)
Step #3: Pour alcohol over the beans until fully submerged.
Step #4: Seal and store in a cool, dark place.
Step #5: Wait. (This is the hardest part.) Give the jar a gentle shake every week or so, and let time do its thing. You’ll start to see the liquid deepen in color and aroma over a few weeks, but for the best flavor, aim for at least six months. 12 months is even better. I use the smell test to know when my vanilla extract is ready for primetime. If you can smell more vanilla than alchol, it’s ready to go!
A good rule of thumb for ratios: about 1 ounce of vanilla beans per 8 ounces of alcohol.
Pro Tip: If you pour just 4 oz of vanilla extract from the larger jar to use in your kitchen everyday, you can keep topping off the larger container with alcohol so your stash never ends! Just be sure to continue shaking the jar every month and make sure the beans are fully submerged in the alcohol.
The Gift That Keeps on Giving
One of my favorite parts of making vanilla extract (besides using it in everything) is gifting it. Pour some into a small glass bottle, tie it with a ribbon, and you’ve got a thoughtful, homemade gift that people actually use.
Want to take it up a notch? Include a couple of extra vanilla beans and a tiny bottle of alcohol so the recipient can keep the batch going. It’s like a sourdough starter… but sweeter.
A Pantry Staple Worth Making
Homemade vanilla extract has officially earned a permanent spot in our kitchen. It’s simple, cost-effective, and feels like a small but meaningful step toward that slower, more intentional way of living we’ve been working toward.
Plus, there’s something deeply satisfying about pulling a bottle off your shelf and thinking, “I made that.”
And if it also makes your cookies taste amazing? Even better.
Note: Some links may be affiliate links. I only recommend products we actually use and love.